How to Add a Favicon to Your Site
Published: 10 Jul 2026
You’ve built your WordPress site, but there’s still a generic blank icon sitting in the browser tab where your logo should be. If you’re wondering how to add a favicon to your site, the good news is that it’s one of the simplest fixes you can make, and it takes just a few minutes. This guide walks you through the entire process, from preparing your image to uploading it correctly.
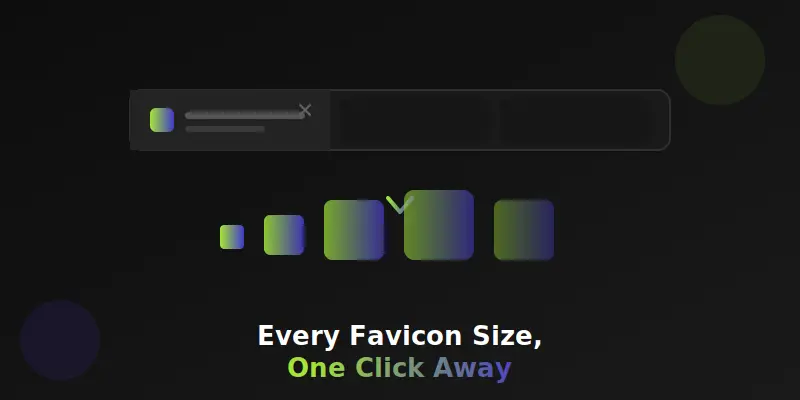
Adding a Favicon in Your Site Step by Step Guide
WordPress makes this process fairly simple through its built-in site settings. This section covers exactly what to do, along with a few details that trip people up.
Step 1: Prepare a Square Image
Before uploading anything, make sure your image is square, since WordPress will crop it into a square shape either way. A simple, bold design works far better than something highly detailed, since your favicon will eventually be shrunk down to a tiny size. If you don’t already have a properly sized favicon image ready, generating one first will save you from a blurry or oddly cropped result.
Step 2: Open the Site Identity Settings
Log into your WordPress dashboard and navigate to Appearance, then Customize. From there, look for a section called Site Identity, which is where WordPress manages your site title, tagline, and icon settings. This is the built-in location for uploading your favicon without needing any additional plugin.
Step 3: Upload Your Site Icon
Inside Site Identity, you’ll find an option labeled Site Icon. Click the upload button and select your prepared image from your device. WordPress will typically show a preview of how your icon will look before you confirm the upload.
Step 4: Crop and Confirm
After uploading, WordPress usually provides a simple cropping tool if your image isn’t already perfectly square. Adjust the crop so your logo or icon is centered and not cut off. Once you’re happy with the preview, confirm the crop to finalize your favicon.
Step 5: Publish Your Changes
Once your site icon is set, click Publish to save your changes within the Customizer. WordPress automatically handles generating the different sizes needed for browser tabs and mobile devices in most modern themes. Your new favicon should now appear across your site.
Why Your Favicon Might Not Show Up Immediately
Browsers often cache favicons aggressively, meaning your old icon might still appear even after a successful upload. Clearing your browser cache, or simply opening your site in a private or incognito window, usually resolves this. If you’re using a caching plugin on your site, clearing that cache as well can help the new icon appear faster.
Using an Older WordPress Version Without Site Icon Support
If your WordPress version or theme doesn’t include the Site Icon option, you can still add a favicon manually by uploading your icon files to your site’s root directory and adding a small snippet of code to your theme’s header file. This method requires slightly more technical comfort but works reliably across any WordPress setup. A favicon generator tool can provide both the correctly sized files and the exact code needed for this approach.
Making Sure Your Favicon Looks Good on Mobile Too
The built-in WordPress Site Icon setting generally handles mobile and desktop sizes automatically, but it’s worth double checking how your icon looks when a visitor saves your site to their phone’s home screen. If it appears blurry or cropped incorrectly on mobile, uploading a higher resolution starting image usually fixes the issue. Testing on both an iPhone and an Android device gives you the most complete picture.
Prepare Your Favicon First
Before uploading anything to your site, it helps to start with a properly sized, high-quality favicon. Use our free favicon generator from image online to turn your logo into every required size instantly, along with the exact HTML code if you ever need it. This makes the WordPress upload step quick and mistake-free.
Conclusion
Knowing how to add a favicon to your site is a small task that makes a real difference in how professional your website looks. Following the steps through Appearance, then Customize, then Site Identity covers most modern WordPress setups without needing a plugin. My honest recommendation is to prepare your image first using our free favicon generator from image online, then upload it directly through WordPress for the smoothest result. Give it a try now, and check out our other simple guides for improving your website.
FAQs:
No, modern WordPress versions include a built-in Site Icon setting under Appearance, then Customize. A plugin is only needed for very old WordPress versions or highly customized setups.
WordPress recommends at least 512×512 pixels for the best results across all devices. Starting with a larger, square image gives WordPress more flexibility when generating smaller sizes.
Technically yes, but simple, bold designs work far better than detailed images once shrunk down to a small size. Complex logos often become blurry or unrecognizable as a tiny browser tab icon.




- Be Respectful
- Stay Relevant
- Stay Positive
- True Feedback
- Encourage Discussion
- Avoid Spamming
- No Fake News
- Don't Copy-Paste
- No Personal Attacks
- Be Respectful
- Stay Relevant
- Stay Positive
- True Feedback
- Encourage Discussion
- Avoid Spamming
- No Fake News
- Don't Copy-Paste
- No Personal Attacks
